

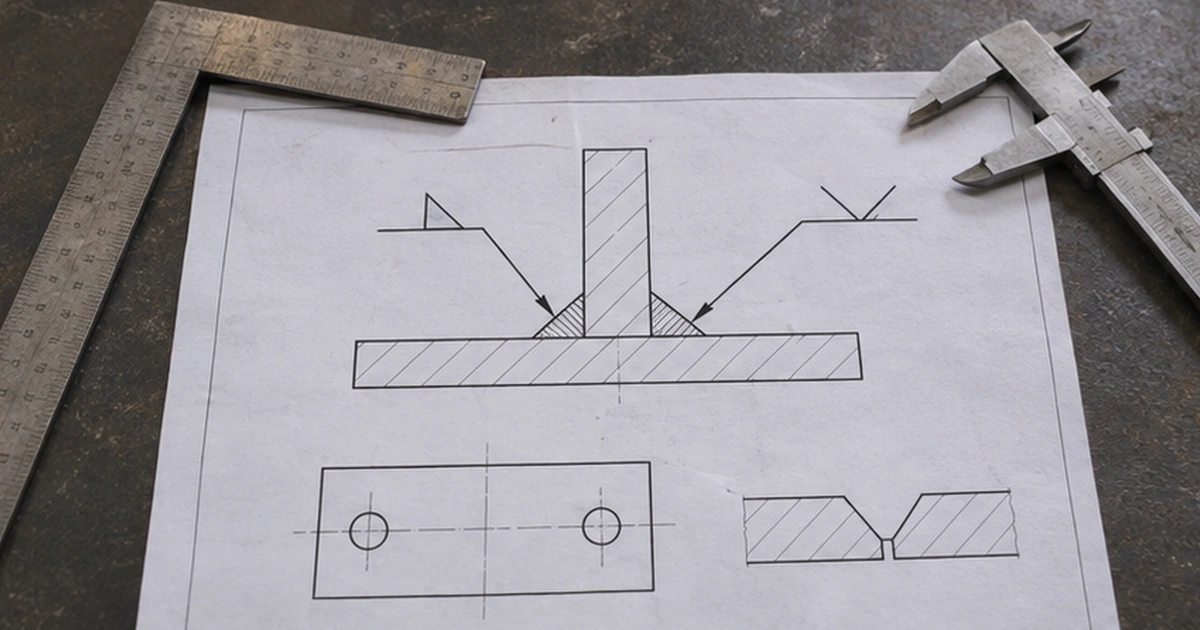
Why Welding Symbols Matter
A drawing tells the welder where to weld, what type of weld to make, how big it must be and how it must be finished. Writing this out in words for every joint would be impossible, so standard welding symbols are used. Reading them correctly is a basic skill for every welder, fitter and inspector.
Two systems are common: ISO 2553, used in Europe and much of the world, and AWS A2.4, used in North America. They share most symbols but differ in a few important details.
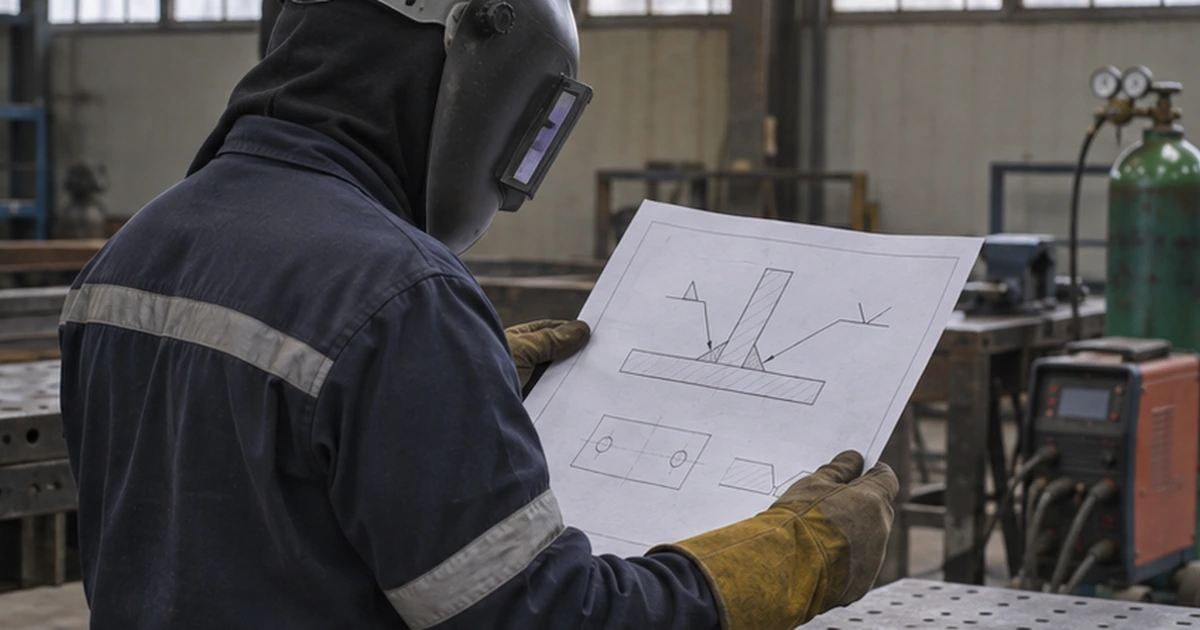
Parts of a Welding Symbol
- Arrow line: points to the joint
- Reference line: the horizontal line the symbol sits on
- Basic weld symbol: shows the weld type, such as fillet, V-butt or bevel
- Dimensions: size, length and spacing of the weld
- Supplementary symbols: weld all around, field weld, flush or convex finish
- Tail: optional, for process, procedure or other notes
Arrow Side and Other Side
In AWS A2.4, a symbol below the reference line means the weld is on the arrow side of the joint, and above the line means the other side. ISO 2553 offers two methods. In the widely used system A, a dashed identification line runs parallel to the reference line: a symbol on the solid line means arrow side, and a symbol on the dashed line means other side. Mixing up the two systems is a common source of welds on the wrong side.
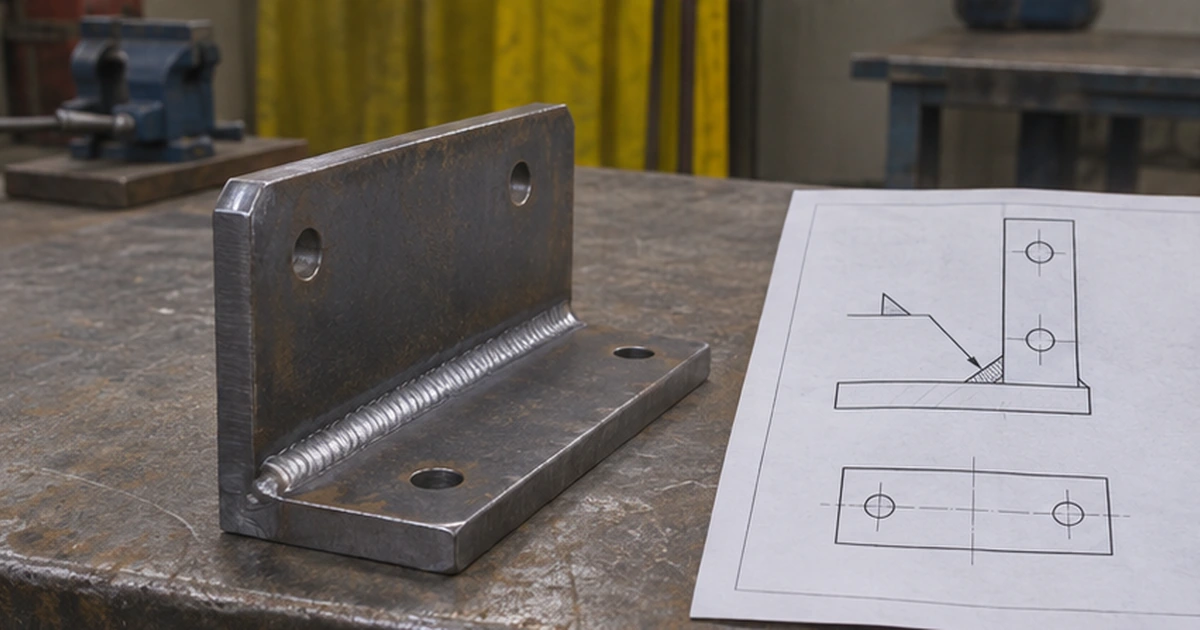
Common Basic Symbols
- Fillet weld: a right-angled triangle
- Square butt weld: two parallel lines
- Single-V butt weld: a V shape
- Single-bevel butt weld: a single angled line with a vertical line
- Plug or slot weld: a rectangle
- Spot or seam weld: a circle
Reading Dimensions
For fillet welds, ISO uses a letter to show whether the size is the throat thickness (a) or the leg length (z), for example a5 or z7. AWS normally gives the leg size. A number after the symbol shows length, and for intermittent welds, the length and pitch, such as 50-150. A flag on the junction of the arrow and reference line means a site weld, and a circle means weld all around.
From My Experience
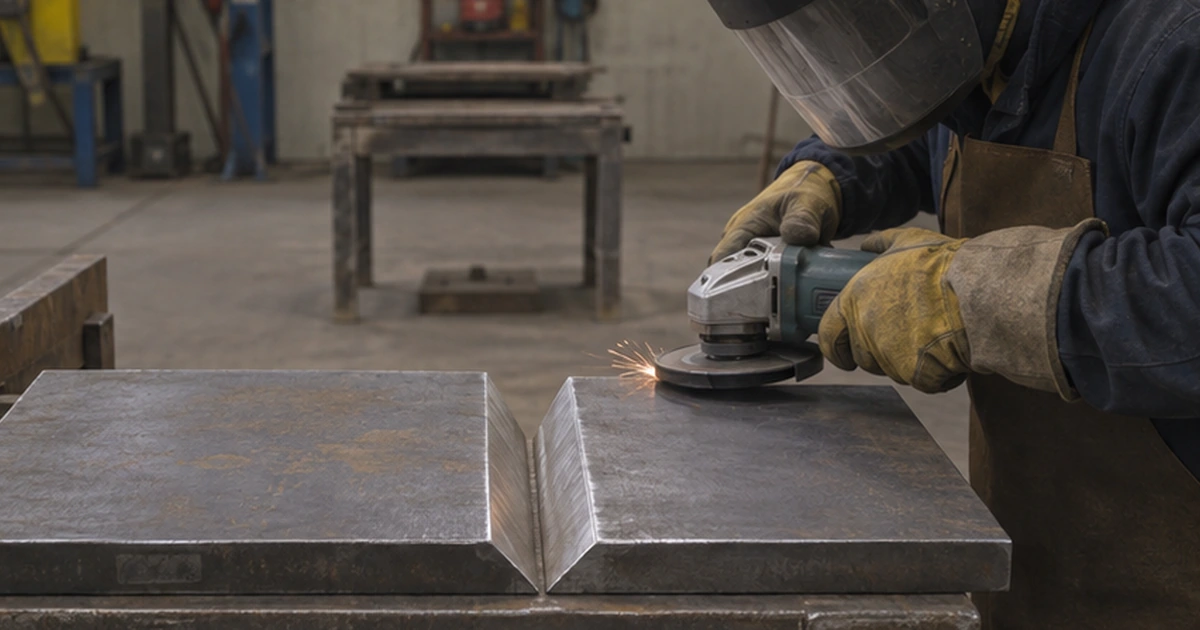
On site, I check the welding symbols against the drawing revision before starting, and ask when something is unclear. A misunderstood a and z on fillet welds can mean a weld 40% smaller than intended. It is much easier to ask than to explain an undersized weld later.
Conclusion
Welding symbols carry all the information a welder needs, provided they are read in the right system. Know the arrow side convention and the dimension rules. See also fillet welds vs butt welds and welding procedure specification.
If you found this article useful, feel free to share it with colleagues who work with fitters and welders. — Zisis
Need Help on a Project?
For welding supervision and quality control on marine and industrial work, see Welding Supervision or request a quote.